
Steam achievements

The Steam version of Underkeep has 32 achievements. Your first Underkeep achievements come on the way to the village. Start checking side passages and picking up supplies on that first trip, and use potions as your party needs them. Keep separate saves for the choices that shape how the game ends.
All 32 achievements
| Achievement | Requirement |
|---|---|
| First Step Into Rot | Enter your first dungeon. |
| Village of Fading Hope | Enter Underkeep Village. |
| Into Duskhollow | Enter the Duskhollow Woods. |
| Towerbound | Enter the Tower of Underkeep. |
| Not Dead Yet | Reach Level 5. |
| Veteran of the Deep | Reach Level 10. |
| Dungeon Master | Reach Level 15. |
| Eyes in the Wall | Find 17 secret locations. |
| Medic! | Restore a total of 1,000 HP. |
| Liquid Courage | Drink 30 healing potions. |
| Walking Mana Barrel | Drink 30 Mana potions. |
| Unnaturally Energized | Drink 30 Stamina potions. |
| Filthy Rich | Have at least 1000 gold in your pocket. |
| Doomsday Prepper | Have at least 200 food in your backpack. |
| Bone Collector | Have at least 200 bones in your backpack. |
| Shopping Spree | Buy 100 items. |
| Gold Digger | Mine 10 Golden Ore. |
| Way to Go! | Use a Waystone Gate for the first time. |
| Waystone Addict | Use Waystone Gates 50 times. |
| Ronan the Barbarian | Complete the Heart of the Barbarian quest. |
| Family Reunion | Return all five lost mushroom children to Mrs. Puffshroom. |
| Revolution of the Spores | Lead the Mushroom Folk in a rebellion. |
| Unchained Whispers | Free Jacob from his chains. |
| Silencer | Defeat all three High Clerics. |
| Who's the Boss Now? | Defeat the bandit chieftain. |
| Mist Walker | Make your way through the misty maze. |
| Ashes in the Sky | Decide the dragon’s fate. |
| Giant Problem, Giant Solution | Defeat the giant. |
| Stinky Surprise! | Try to surprise the Architect. |
| We Are Not There Yet… | Finish the game. |
| A Light in the Dark | Finish the game with the best ending. |
| Everything Went According to Plan | Finish the game with the worst ending. |
Exploration and experience from the first tunnels
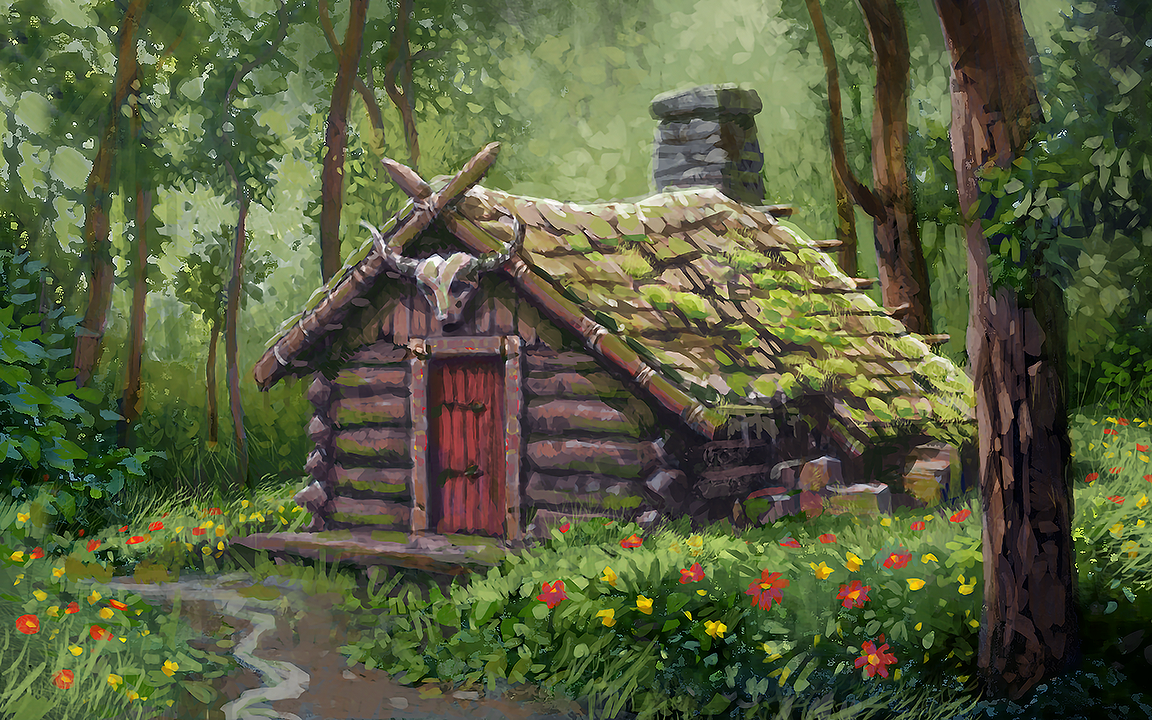
Head down from Fangroot Forest into Hollowgrave Tunnels. Once you have the Silver Key, use it on the north-west door in the tunnels and emerge in the western forest. Deal with Garric's request and he'll let you through to the village. Side quests and optional fights give you more experience on the way to levels 5, 10 and 15. If you're still short of experience near the end, go back to the quests and encounters you left for later.
Where to look for secret locations
For Eyes in the Wall, step into the hidden area itself and look for the “Secret Location” message. Discoveries across different areas add up to 17. Start in Fangroot Forest and Hollowgrave Tunnels as you pass through them on the main route. At dead ends, try walking through suspicious wooden walls and look for small buttons. In Fangroot Forest, check the western paths for concealed drops into the tunnels.
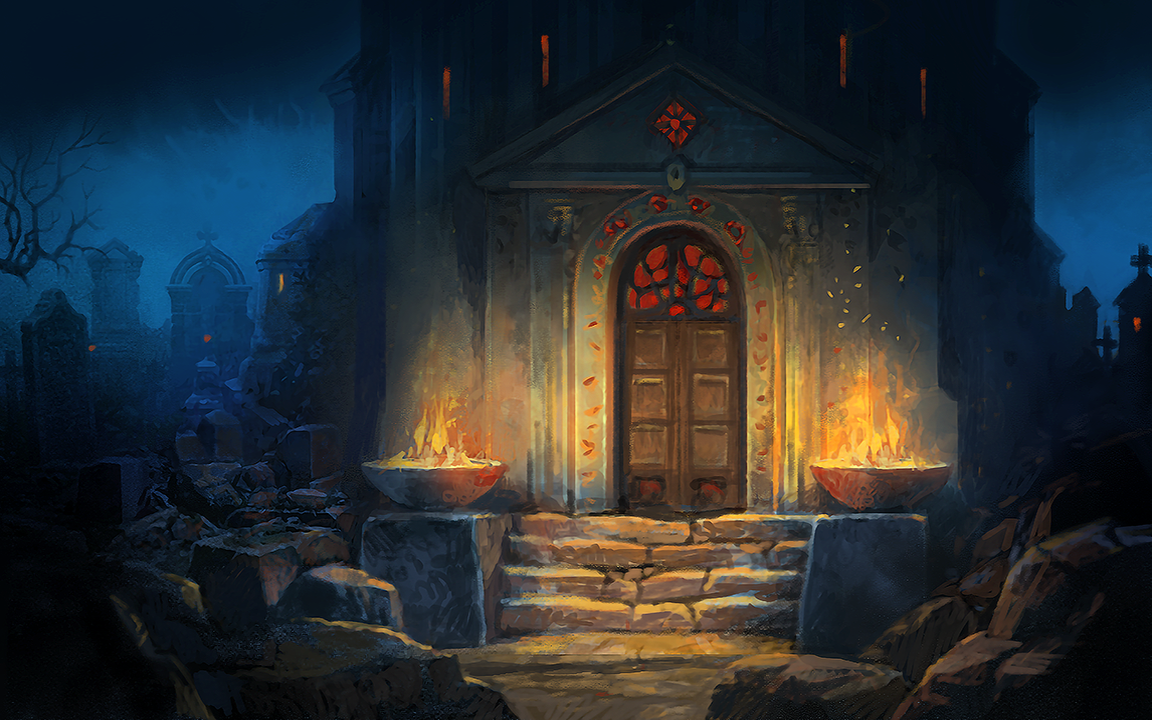
Look for more secrets while following Jacob's trail and searching for the miners. In Underkeep Cemetery, step beside the right-hand altar outside the mausoleum and use the wall torch at the end of the underground passage. Inside the Mausoleum, face the closed gate at the end of the webbed corridor. Use the banner on your right to reveal the button that opens the room with the Scroll of Binding. On the miners' route, check the walls in Caerlin Woods and Blightvein Mine.
If you still need discoveries, look for hidden passages while visiting the obelisks in Roots of Underkeep and the Depths of the Broken Seal, where the light grid reveals concealed walls. Grimfen and The Mireheart also contain secret locations. In The Mireheart, try the button near the northern entrance (26,18) for the Ring of Wisdom alcove and check the guardian's chamber as well. On the way to the dragon and through Soulforge, investigate the hidden library in Sanctum of the Last Flame, the passage behind the coloured flames in Soulforge and the corners of East Garden. The Secret areas guide gives the library switch locations and the flame combinations.
Healing, shopping and supplies
Give healing potions to wounded heroes to work towards Liquid Courage and restore HP for Medic! Drinking a potion leaves the hero's regular action free, so they can drink and act in the same round. Use Mana potions when your casters are running low and Stamina potions when a hero such as a Warrior needs more for a skill. Restock with Khelebar or brew potions from the ingredients you find using alchemy.
Spread the purchases for Shopping Spree across your supply trips to Underkeep Village. The Crooked Wing sells food and Khelebar sells potions. When you're close to 1,000 gold, put off larger purchases until you have the full amount on hand. You can then spend some of that gold on food to work towards Shopping Spree and Doomsday Prepper together. Food and bones each need to reach their own totals in your backpack at once. Pick up food as you explore and top it up at the inn. While you're saving it for the achievement, you can pay to rest at the inn without using your food. Keep your bones in the backpack and allow for any you spend on Blood Mage skills.
Quests in the village and beneath the cemetery
For Ronan the Barbarian, bring the Helm of the Barbarian to Ronan at the forge. You'll find it in a walled area south of Jacob's shack in Fangroot Forest. When you pick it up, hold your ground in the narrow passage so the vultures can't surround you. Take the helm back to Ronan once the attack is over.
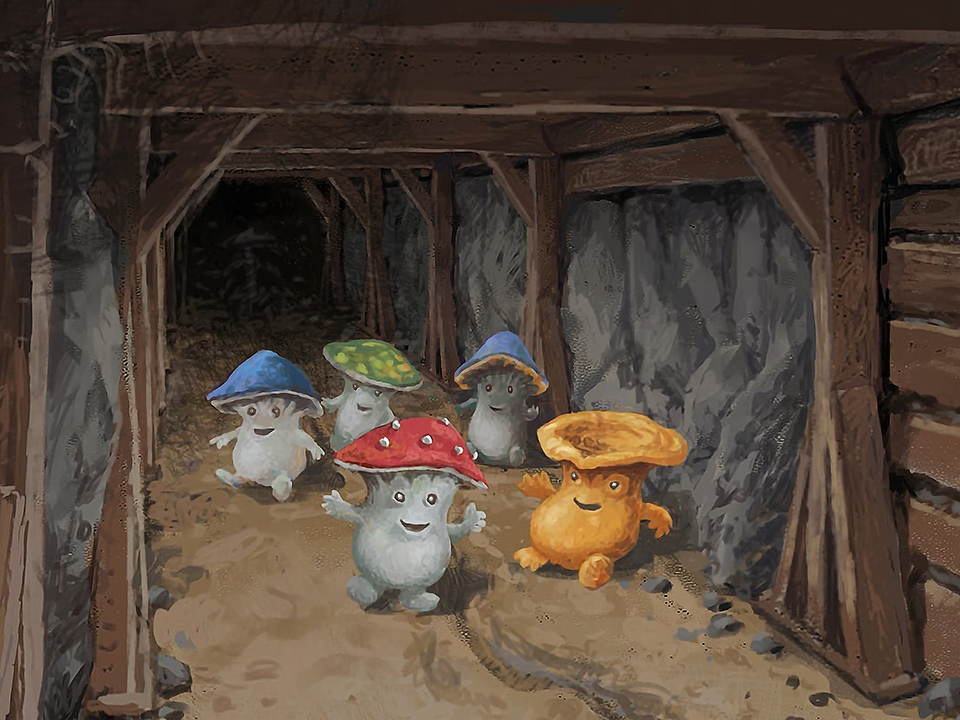
For Family Reunion, return Barlo's doll from Rat Nest and ask him for more work. Speak to Mrs. Puffshroom at the northern edge of the village. Search the outskirts for all five Mushroomlings and bring them back to their mother. Save before handing them over, since you can give the group to only one recipient. Their mother gives you the Mushroom Bond you'll use later in Soulforge.
Show Khelebar the letter from Jacob's shack and follow the trail through the cemetery into the Cells of the Forgotten. Free Jacob from his chains for Unchained Whispers. On the same expedition, defeat Maltherion in the Mausoleum, Thalric in the Cells of the Forgotten and Zerethic in The Silent Chambers. Defeating all three earns Silencer, and their keys open the Source Gate. Defeat the guards beyond it, then choose Let it live when you speak to the Source if you want to keep the best ending open. Pick up the Runic Segment in its chamber before leaving. The Mausoleum walkthrough covers the route to the keys and the gate.
Duskhollow, mining and Waystone Gates
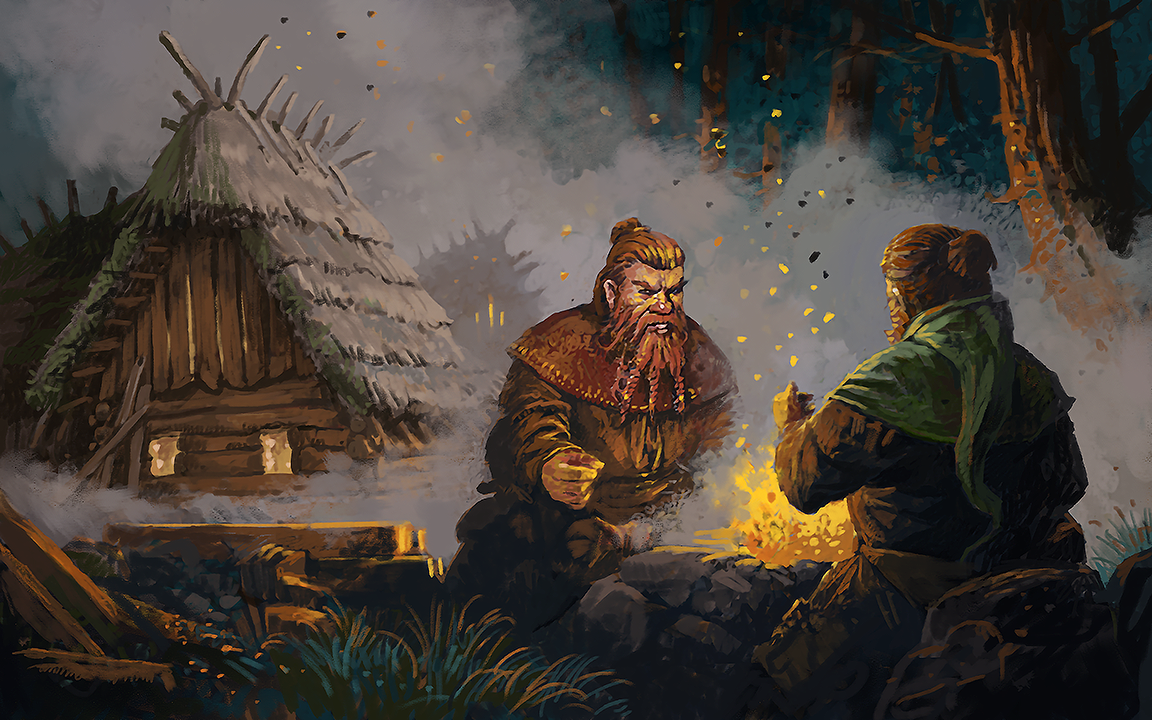
Take the Wolf Skull from Thalric's chest and fit it to the headless statue on the west side of Caerlin Woods. Take the open path into Duskhollow Woods. At the dwarven camp, train with Brenna Ironsong to clear hard rubble and mine gold. The first lesson comes with the reinforced pickaxe, the second with the Golden Chisel. Get both before leaving with Korr so you can mine in the dragon's lair. If you still need Golden Ore for Gold Digger, bring the chisel back to the vein in southern Rat Nest or the veins in the northern and eastern walls of Basilisk's Den. You can sell the ore to put more gold towards Filthy Rich. See Mining for the training costs and other places to visit.
Touch each Waystone as you pass it to activate it. For your first trip you need a Teleportation Stone. Khelebar gives you one in Wards of the West after you copy the runes from four obelisks. The fourth lies beyond hard rubble in the Depths of the Broken Seal. When you visit the obelisk by the southern camp in Roots of Underkeep, bring a stronger party and take on the Bandit Chieftain there for Who's the Boss Now? Once you have the stone, use it, choose an activated destination and walk through the gate. That first crossing earns Way to Go! Use the gates on return trips to merchants and ore veins to work towards 50 crossings for Waystone Addict.
Grgla's maze and the route to the dragon
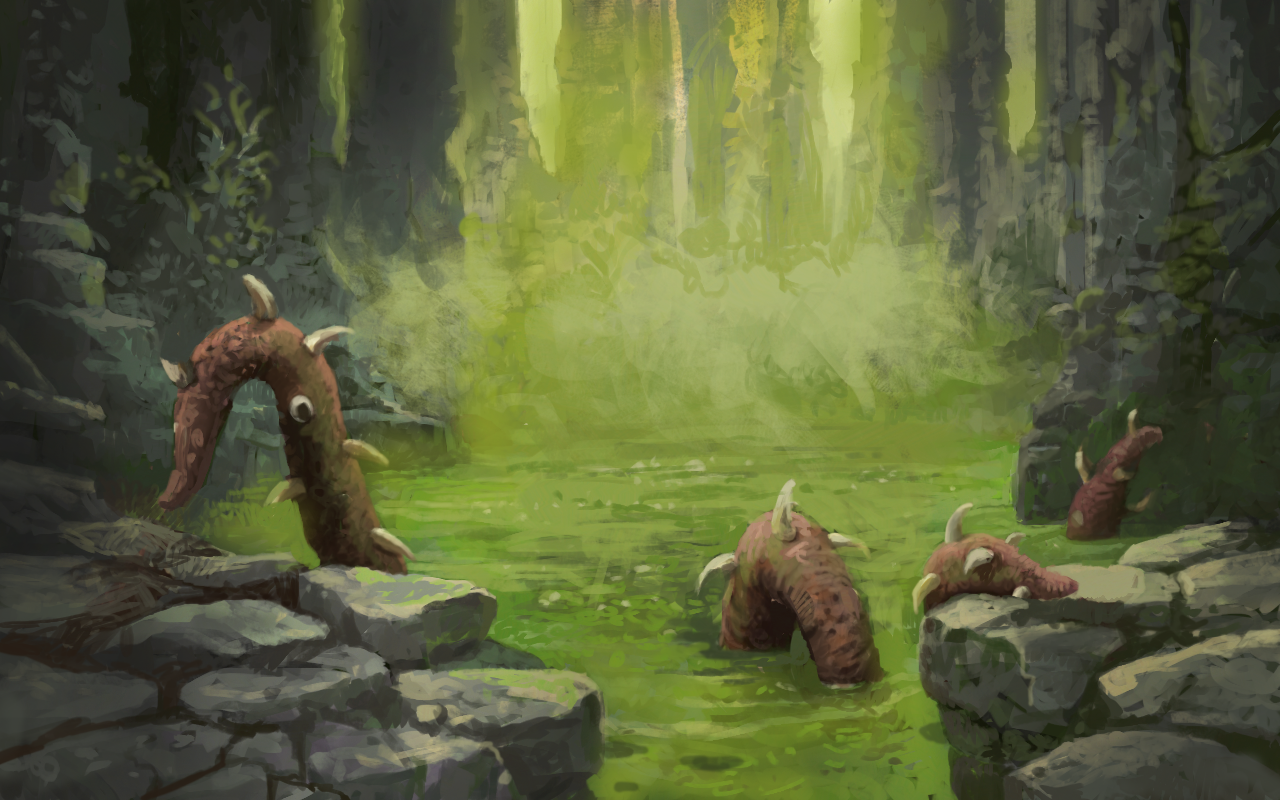
In Grimfen, speak to Grgla about the maze after the fight by the altar. He gives you Grgla's fish and guides you through the mist in the east of the swamp for Mist Walker. Activate the nearby Waystone when you come out. If you're after Stinky Surprise!, keep the fish for the tower. Destroy all four Tentacle Roots in The Rootgrave below The Mireheart. Refuse to fight The Thing itself and defeat the tentacles that rise from the pool. In the dialogue afterwards, let The Thing leave and keep the fish. Before leaving The Mireheart, use the button behind the banner in the south to reach the second Runic Segment.
For Ashes in the Sky, decide the dragon's fate. To spare it, hear Korr's plan first. Accept Durok's Heart of the Mountain before joining Korr's expedition to Sanctum of the Last Flame. Try to reason with Korr at each of the three spots where he prepares charges. After he agrees, keep your party alive near the pillars the dwarves are attacking. The dragon flies off once the pillars come down. Pick up the Runic Segment near the two sarcophagi and report back to Durok to enter Soulforge.
Revolution of the Spores in East Garden
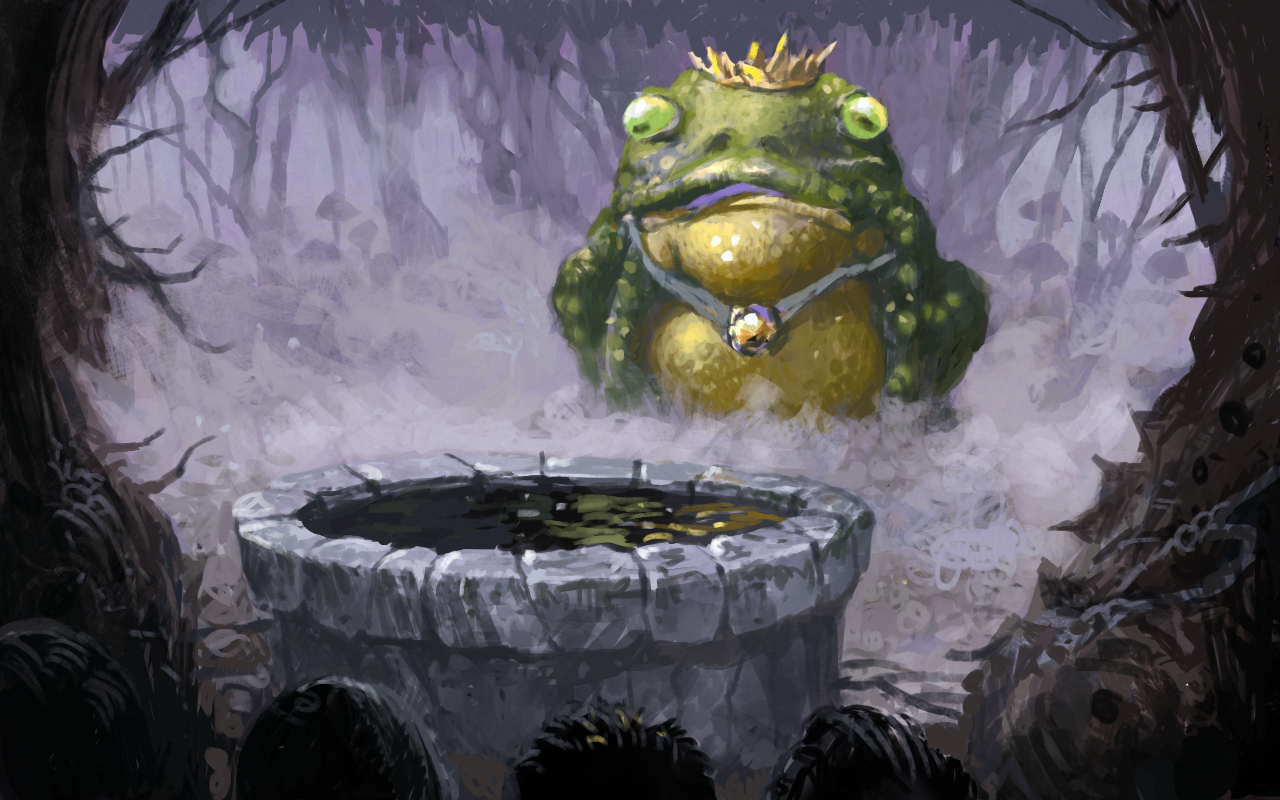
When you reach East Garden in Soulforge to collect the blue spheres, head to the south-east corner. If you returned all five children to Mrs. Puffshroom and still have the Mushroom Bond, choose the special blue dialogue option when you meet the mushrooms near the Frog King, then agree to their rebellion. Approach the Frog King and choose the dialogue option to offer blood from one party member. Defeat the Frog King to earn Revolution of the Spores, then carry on collecting the spheres.
The Soulforge giant and Soulcleaver

Gather the eight blue spheres in the two Soulforge gardens, open the gate and descend to The Furnace. Save before the giant starts chasing you. When it charges, press the button to stall it and retreat deeper into the dungeon. Lure it into the furnace, shut every gate from outside and pull the main lever on the far side. Once the giant is gone, you've earned Giant Problem, Giant Solution. Return to the corridor where it first charged and follow it to the Anvil of Creation. After returning to Durok, wait for him to hand you Soulcleaver.
The Archmage, Grgla's fish and the endings
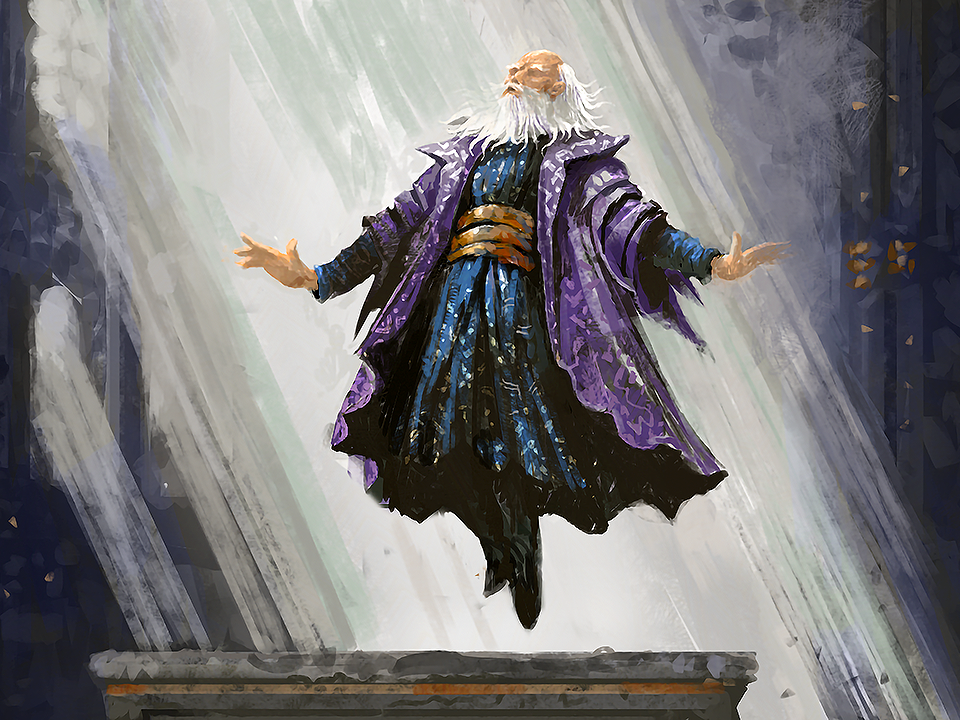
Once you've copied the obelisk runes, buy the final Runic Segment from Torren. Take all four to Underkeep Tower and enter for Towerbound. Keep Soulcleaver and Grgla's fish with you up to the fifth floor. Make a separate save before speaking to the Archmage. You can finish the best-ending route from this save and then reload for the fish encounter.
For A Light in the Dark, spare the Source, The Thing and the dragon, then bring Soulcleaver to the Archmage. Agree to his plan and go downstairs to face Torren. Equip Soulcleaver on a hero with at least 8 Strength. Thin out the demons during the fight, then lure Torren onto a tile next to the open portal. Position yourself so that Soulcleaver's ability pushes him straight through the portal alive. Finishing the game also earns We Are Not There Yet… If you want to see the ordinary ending, save before the encounter with Torren and kill him in the fight after reloading.
For Stinky Surprise!, reload the save before the conversation, go back beneath the cemetery to the Source you spared earlier and choose End it. Return to the fifth floor with the fish and Soulcleaver still in your inventory. If you're also going for Everything Went According to Plan on this branch, drop Soulcleaver on the floor up there, just before speaking to the Archmage. When the angry Archmage confronts you, choose the Grgla's fish option in the dialogue with the Archmage to earn Stinky Surprise! Finish the encounter with the Archmage. On the branch without Soulcleaver, he brings down the tower and you get the worst ending.